My RV Links Page
Back
To Jon Vermilye's Photo & Travel Page
I have posted Lloyd's PDF describing his installation of a replacement flat screen TV:
The attached PDF is the install on the 2005 Adventurer. The only difference on the Itasca Horizon was that the new Samsung LED LCD TV is only 1 inch thick and makes a tighter install. Around the opening between the TV and the wood cabinet, (Not Showing) Is 1/2 inch wide by 1/4 inch thick weatherstrip soft foam to seal the installation and eliminate any vibration.
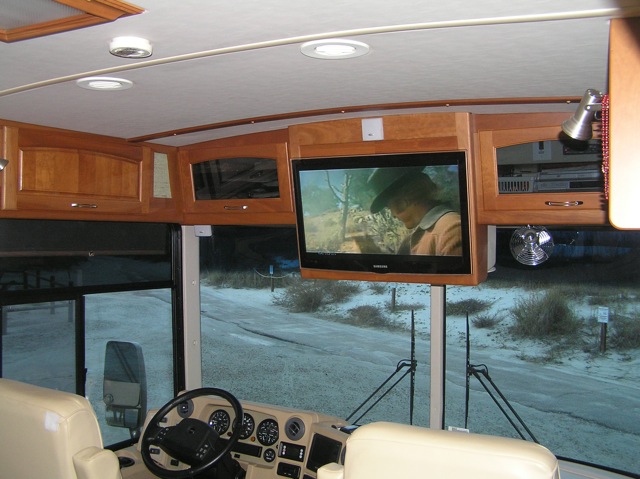
This is the finished job on the 05 Itasca Horizon. The procedures would be almost the same on any coach with the TV
mounted in the overhead cabinets. The overall goal was to mount it so that there is no vibration.
If you have a Winnebago product, or possibly some others " When you remove your existing TV, you will see 2 wires coming out of the back of the case with RCA plugs on the end. (1 ea red and white) When the TV is out lay it on its face and remove the case (Not difficult) You will see the wires to each speaker. Cut them off and pull them through the case. You will have to solder these wires in side the case of your new TV on each speaker. NOTE If your new TV has audio out plugs on the back, you can merely plug into these. It is these 2 wires that Winnebago uses to pick-up the additional speakers." This is the procedure that allows your radio/tv switch to work your auxiliary speakers. At the other end of the wires that were connected to the back of your TV(red and white RCA jacks) is an amplifier.
Regards
Lloyd Waters
This page is maintained by: vermilye@oswego.edu
Last Update:
March 25, 2012